I spend a lot of my time trying to convince businesses that Pinterest is a good investment of social media marketing resources. Partially because I’m an avid pinner myself, but also because I actually believe it. In general, the formula is:
New and popular social media platform + A bunch of businesses that are too scared to use it = Big returns for the early adopters.
So, today I take that mission to restaurant marketers, managers, and owners. Let’s get you set up on Pinterest for your restaurant marketing, shall we?
This guide will walk you through exactly how to set it up, and point out some opportunities for you to use it to drive more business to your restaurant. All in all, your setup should take you no more than 5 minutes, and maintenance (like any social network) should be both ongoing, and a team effort spread across your staff — from bartenders, to servers, to chefs, even to patrons.
How to Set Up Pinterest for Your Restaurant
Step 1: Sign up.
Go to Pinterest.com, and sign up for an account using either your Facebook account, a Twitter account, or an email address. I recommend using an email address that you’re comfortable sharing with several members of your team.
When you click “Sign up with Email,” you’ll be tempted to start filling out your name name, email address, and password. Don’t. That’s what someone setting up a personal account would do — but this is a business account. Scroll down a bit, and you’ll see text that says “Are you a business? Click here.”
So, go ahead and click there.
Step 2: Fill out your restaurant’s business information.
I won’t walk you through every form field here, because if you own a restaurant you sure as sugar can fill out a form. But there are a couple things I want to call out.
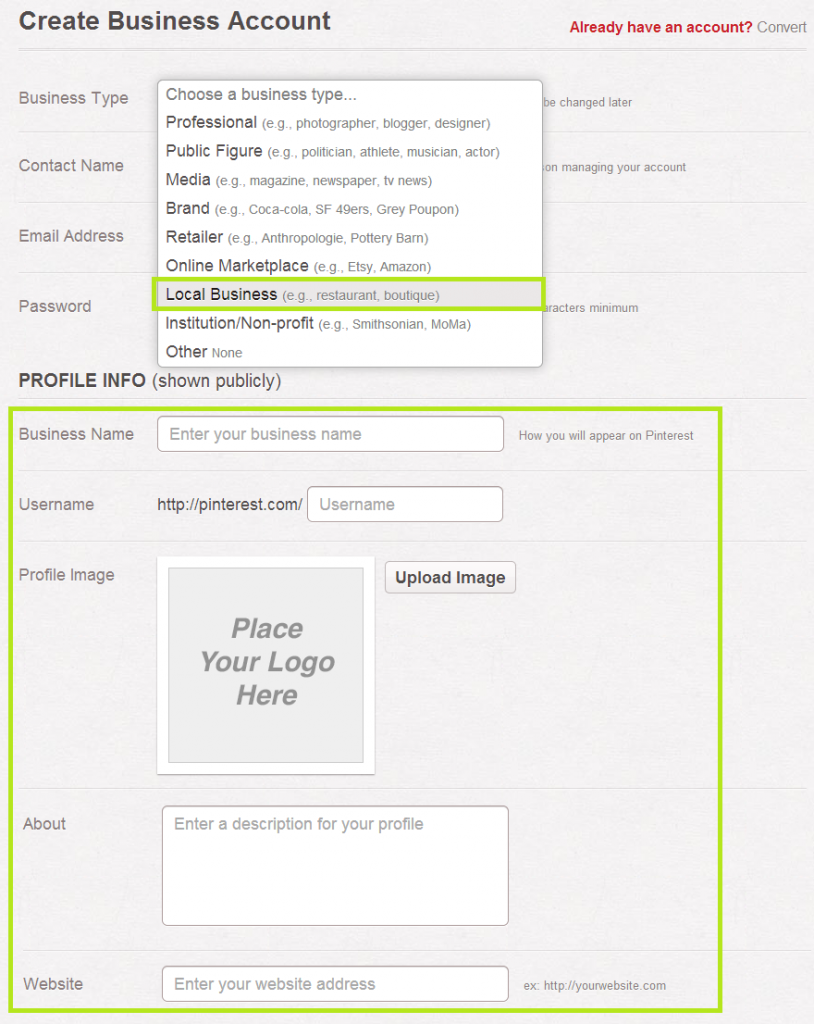
First, be sure you select the proper classification of your business. A restaurant should select “Local Business.” Second, note that all of the information in the second section displays publicly. So be clear, accurate, and interesting.
Once you fill out the information on this page, simply click to accept the Pinterest Terms of Service and create your business account.
Step 3: Start using Pinterest.
Okay, here’s where the actual work comes in. (I told you setting up Pinterest for your restaurant would be easy.) Here are the critical things you should know to be sure you’re using all Pinterest has to offer.
How Your Restaurant Should Be Using Pinterest
There are three core ways you should be taking advantage of Pinterest. Those are:
- Creating boards and a location for your restaurant
- Creating pins
- Repinning other people’s content (especially Popular items)
- Otherwise engaging with other pinners
Some of these are more time-intensive than others. I’m going to explain how to do each of these things, but leave it up to you how much time you invest in each method. But like anything, the more time you put into it, the greater the returns — so don’t expect to get a huge influx of business if you’re logging in to Pinterest once a month to repin a picture of someone else’s halibut. Capisce?
Creating Boards
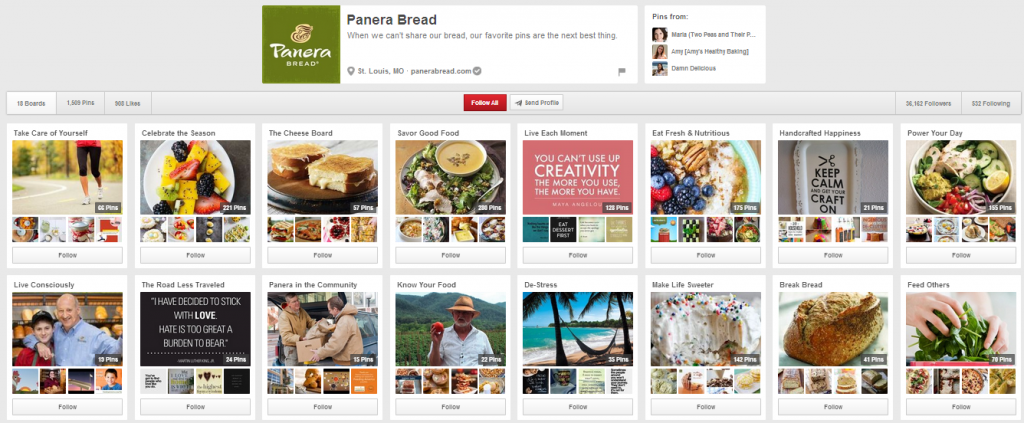
Boards are where all the content you pin and repin will live. The more boards you have up, the more places you have to put the great pins you create and find. (More on that in the next sections). Take a look at all the boards Panera Bread has created, for example:
It’s easy to create a board. Just go to your profile, and click “Create a Board.” Then, give it a name, a description, and select an appropriate category (there’s a “Food & Drink” category, hint hint).
Read This: Restaurants Using Pinterest, our mash-up of great ideas pulled directly from real restaurants using Pinterest in creative ways. We follow over 500 restaurants to maintain this for you. (Side note: our mash-up was created using Postano).
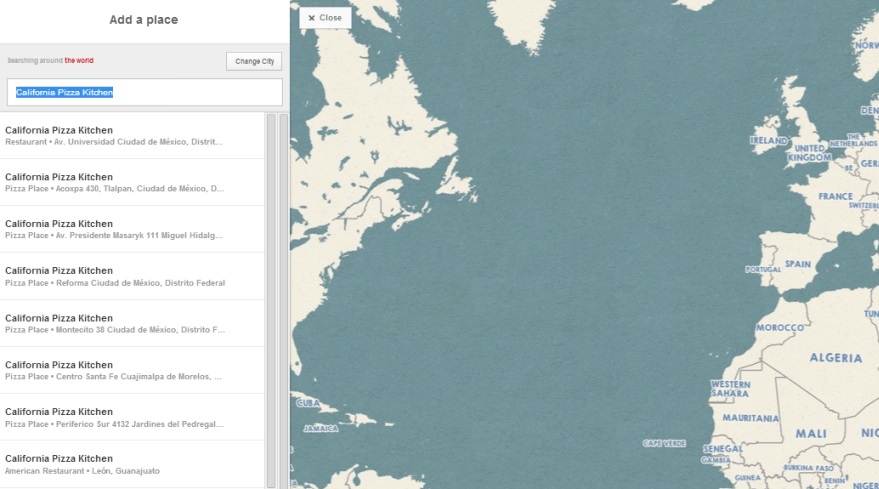
You also have the option to add a map, and to keep the board a secret. Don’t keep it secret — you want people to find this board while they’re pinning — but you might want to add a map. If you do, it’ll take you to a map where you can add a place (like your restaurant!) and photos associated with that place for others to stumble upon when they’re using Pinterest’s location features.
Creating Pins
One way to populate your boards with content is through your own original pin content. There are a few ways to create a pin.
First, you can simply hit the “+” in the top right corner of the screen, and select “Upload a Pin.” Then, just upload your image, select to which board you’d like to pin the image, and add a description of the pin.
The other way to create a pin is to add a pin from a website. Go back to that “+” in the top right corner of the screen, and add in the URL for the site on which the image you want to pin appears. From there, all the images on that page will appear, and you can select the one you want to pin, choose your board, and add your pin description.
Sometimes, a site will have PinIt buttons already available that you can simply click to create your pin. That is by far the easiest option for creating pins — so if that shows up, go for it!
Repinning Other People’s Content
Finally, you should spend some time repinning other people’s content — it’ll help expand your reach and make your own boards more dynamic. (That’s right, your boards don’t need to have only your own original pin content.) To repin a pin, simply find one you like within the Pinterest feed or on another user’s board, and hit “Pin It” in the top left corner of the pin.
Pretty easy, right?
Otherwise Engaging With Other Pinners
There are a lot of other small ways to engage with other pinners — and these small actions help build a stronger community that can turn into an actual, real-life community of patrons. Here are the critical ones you should know about and practice — bearing in mind all of your engagement should come from a genuine place of interest. Pinners can tell when you’re just fishing for repins and Likes.
- Follow other people. As you repin and engage with other pinners, you’ll notice some people start to pop up often in your feed. Follow those folks. It’s a nice way of saying you enjoy their content and contributions, plus, it helps tailor your own Pinterest feed to have more of the content you want to see from like-minded people.
- Like pins. A repin is nice, but a Like is the cherry on top. Like other people’s fantastic pin content, and you’ll notice your network growing slowly but surely.
- Comment. If you love someone else’s pin content, add your own two cents in the comments section. Check to see if people are commenting on your pins, too, so you can carry on a friendly conversation.
There’s a lot of other cool stuff you can do on Pinterest — these are just the basics to get you started. If you want to see what else you can do, Pinterest has some great resources.
I’d recommend you check out their “Pinning Principles” and best practices guide, or attend their webinar, taking place April 16, 2014 from 10-11 PST. Or, you know, just start playing around on your own.
Image credit: mkhmarketing


